

How do you assemble your Warp&Weave loom?! And how will you weave? In this part of our weaving series, we explain everything about assembling your Warp&Weave loom!
1 PARTS
The Warp & Weave loom consists of:
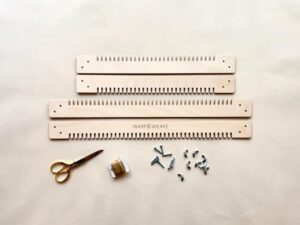
2 long window slats
2 short window slats
8 bolts and 8 wing nuts
2 AT WHAT LENGTH DO YOU WANT TO WEAVE
Consider in advance how large your weaving will be.
3 PREPARING THE LOOM
The window slats you want to weave on are on top of the other window slats.
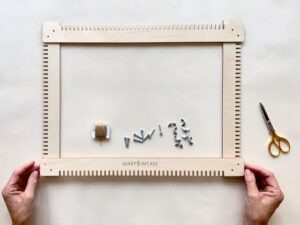
4 ASSEMBLING THE loom
On each corner there are 2 screw holes. The bolts go through both slats from the top.
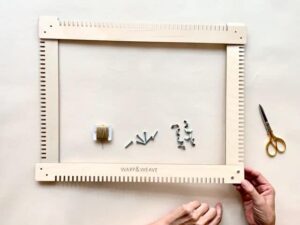
5 SCREW THE LOOM
The wing nuts make it easy to secure the bolts to the bottom of your weaving frame.
6 YOUR WEAVER IS READY
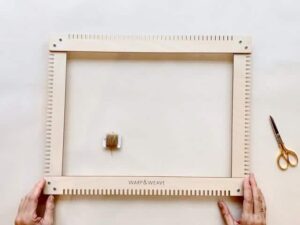
The weaving frame rests on the bolts at the bottom. This gives you a bit more room when weaving.
If you want to know what's in the Warp&Weave sets, go to the unboxing post from Warp&Weave.
To learn how to start weaving read Part Two – How to tension your Warp&Weave loom?
